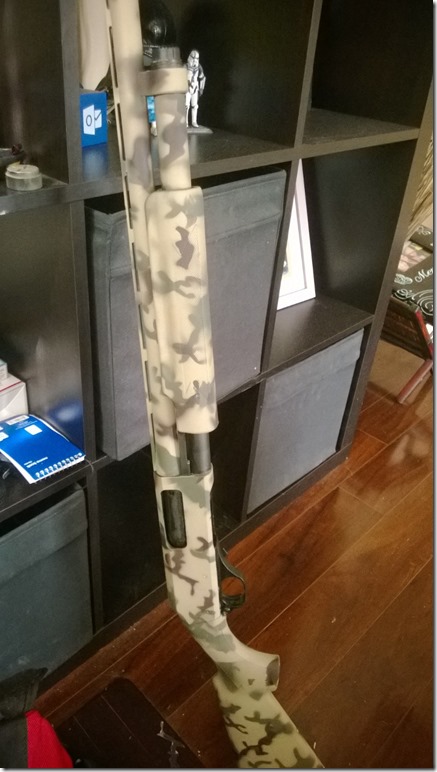
While on holiday break I wanted to knock out some projects I have been wanting to do. One of the top ones was putting a camo finish on my pump shotgun in preparation for a possible Spring turkey hunt, and just to get rid of the ugly black stock finish. My latest firearm is an H&R Pardner 12ga pump shotgun with a 28” barrel. It’s a lower priced shotgun, but built really well and is essentially a Remington 870 clone.
A black finish would be fine for a home defense/tactical shotgun, I bought this with the intention of it being more of an all-around shotgun that will also be suited for some hunting or outdoor adventures. So obviously the black had to go. The whole process is actually pretty simple and the hardest part for me was just deciding what camo pattern to use.
I grabbed three cans of Rust-oleum camouflage paint for roughly $3 a can, and spent hours looking at camo pattern stencils on the internet.
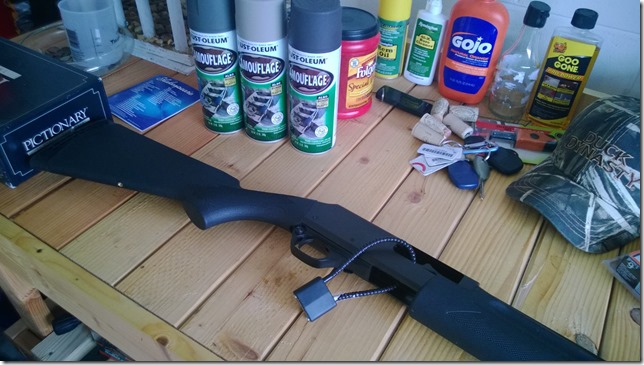
The first step was cleaning and disassembling the shotgun. You don’t want any oils on the gun as it will make the paint not adhere, so a good wiping down with some type of degreaser is where you need to start. Obviously, before you do anything you make sure it’s unloaded and that the safety is on. I cleaned it and removed the barrel. Some people will choose to remove the stock and trigger assembly, but I didn’t find that necessary. I did a big taping job with painters tab to cover everything I didn’t want painted or didn’t want paint getting into. It was time consuming, but it’s something you just have to do.
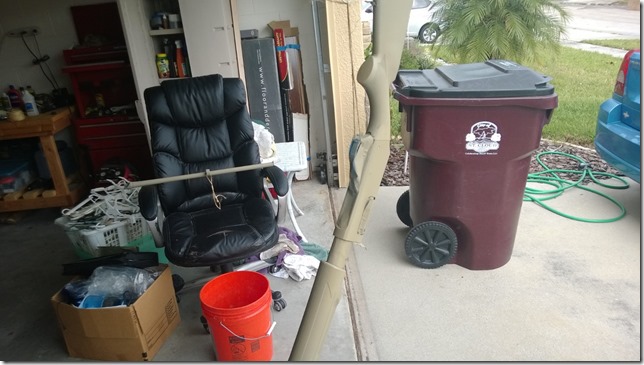
Next I use twine and some metal coat hangers to hang the parts from my garage so they were easy to paint. I first painted the entire gun with my lightest color as a base coat and let dry for the rest of the day.
Now was the time to figure out what camo pattern I was going to use and printed the stencil out. I cut the pattern out with an Xacto knife and then ran the paper through my laminator. I then again cut the pattern out which left me with a laminated pattern I could use.
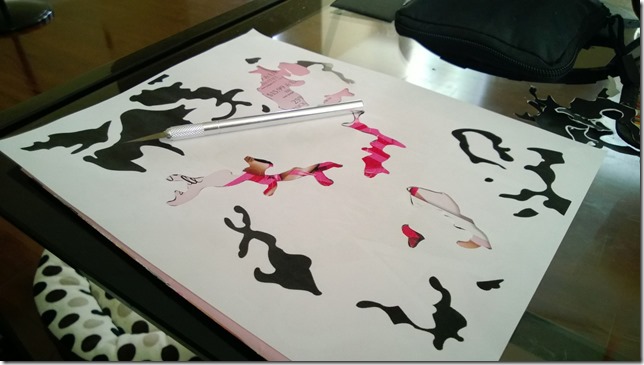
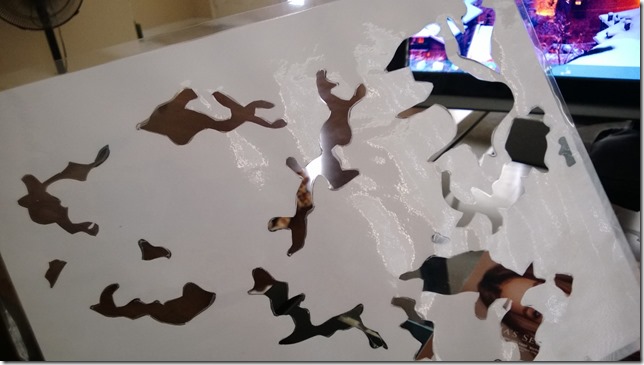
I chose this pattern as it seemed to work as general camo, and the colors would work well in the Florida brush. Of course the best part about using paint is I can just do it all over again if I didn’t like it or wanted to change patterns.
The next is just using the other two darker paint colors and randomly painting the camo on using the stencils. This time I didn’t hang the parts as I needed them still to spray the pattern, and all you need to do now is just use quick strokes. I let each layer dry for a while, then followed with another using the other color. I did this a few times to get the look I wanted and then let it completely dry for the rest of the day.
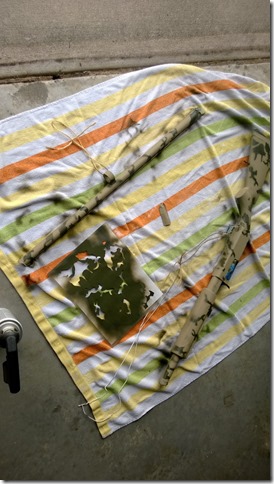
Overall I’m happy with the way it turned out. It’s not perfect, but it’s not meant to be and I think that makes it look even better. It was actually a fun project, and now I have a great looking camo finish on my shotgun.
