Nowadays it’s pretty common to have multiple PCs on your desktop or in your household. With that being said, I wanted to talk about Acoustic Bridge from Stardock and give you an overview on what it does and how to use it. Acoustic Bridge gives you the ability to take the audio signal from one PC and send that signal to another PC in your network.
A good example of use would be if you have a nice set of speakers connected to your desktop PC, and a laptop or Windows tablet with less-than-ideal speakers. Take that audio output coming from your laptop and send it over to your desktop to listen to your music (or any type of audio) on those great sounding desktop speakers.
Purchase Acoustic Bridge for just $9.99
Try it for free!
Acoustic Bridge is pretty simple to get setup and running. After installing you choose whether this PC will be sending or receiving the audio signal. This can be changed in settings if you need to reconfigure at another time, and options are available in the system tray for easy access.
TIP: You can install Acoustic Bridge on up to 4 PCs!
Receiving Audio

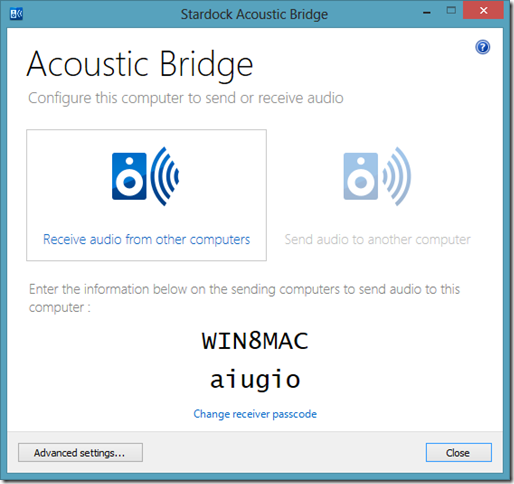
As you see in the screenshot above, you can configure Acoustic Bridge to send or receive audio. For the PC that wants to receive the audio, make note of the PC name and passcode, and then proceed to install and setup on the PC you want to send audio from.
Sending Audio

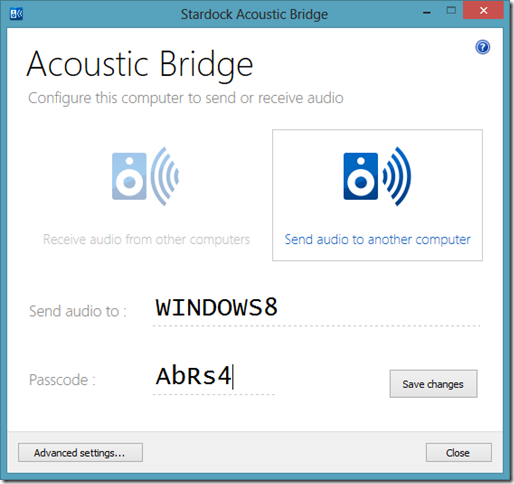
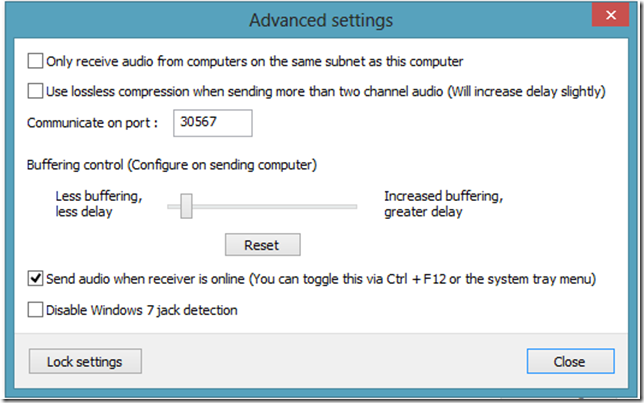
When you select the option to send audio, you just need to enter the PC name and passcode from the receiver setup we mentioned in before. That is the basic setup, but you can click ‘Advanced Settings’ where you can change additional settings such as port numbers and buffering settings.

Once you use Acoustic Bridge you will see how handy it is, and I’m sure it will become one of your favorite desktop utilities!