In catching up with tutorials and guides for users, the first requested one was how to make animated images for use specifically in CursorFX. However, these can be used a variety of other skinning apps including DesktopX, WindowBlinds, etc.
First you have to create the image you want to animate. The most common app will most likely be something like Photoshop, although I do know some skinners who will use 3D applications to make some of those awesome cursor themes you see on WinCustomize. Regardless of how you create the images, the end result must be that you have sequential .png images of your animation. In Photoshop, you can do this simply by creating an image, and making a .png file of every step of the animation. If you are using a 3D application, some will give you the option to export as sequential .png’s so most of the work is already done for you.
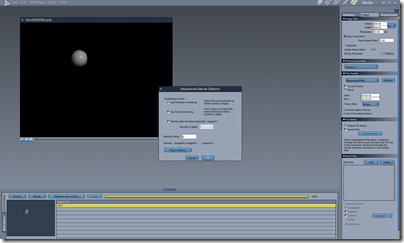
This example is from Carrara 7. I made a simple animation of a sphere for this example, and instead of exporting it as a movie file, it gives me the option to save each frame of animation as a .png file, which I can then assemble. Assembling is something we will get to shortly.

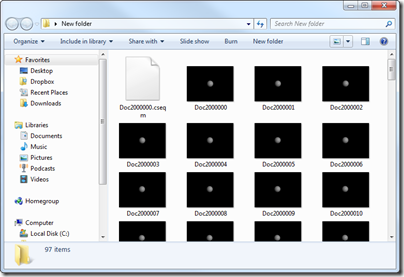
Regardless of what you use, you will end up with a bunch of image files.

Now the task is to take all those images and make them into one strip of images. There are a couple ways of doing this.
- AniUtil – This is a utility long used by skinners to create .png strips. It is located in your CursorFX folder or can be downloaded from various sites on the web. Unfortunately, it doesn’t work too well with newer operating systems, but I would recommend trying it first.
- APNG Edit – This is a Firefox extension used to create .png image strips.
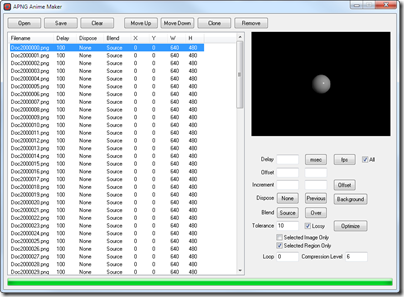
- APNG Anime Maker – This is a free app that doesn’t require installation that does a great job at combining .png files.

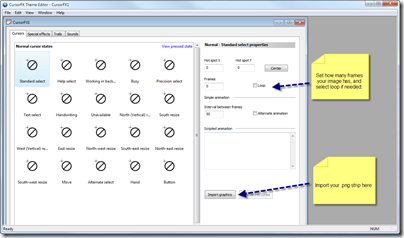
No matter what app you use to create the animation strip, you will end up with a single file. Be sure to make note of how many frames are in the image as this is a number you will need to enter so the animation is looped correctly.
Since we are using CursorFX as our skinning example, the image below shows the CursorFX Editor and how you can import and setup your animated image.

As I mentioned before, these animations can be used in several different skinning programs, and the basics are all the same. Using this method, you can create some really cool animations for your skins and themes.