This weeks Feature Friday I thought we would focus on the transparency features in WindowBlinds . Having a skin with transparency was all the rage a few years ago, but now virtually any skin can have their opacity adjusted in real-time. That also includes .msstyles which have been imported into WindowBlinds via the importer tool.
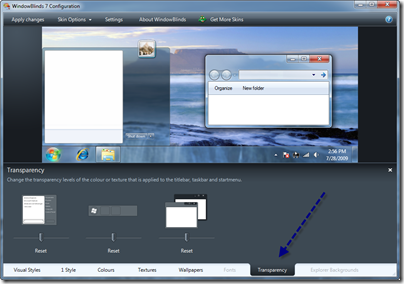
Now make note that much of this is only supported on Vista and Windows 7, and you must have an Aero-capable PC to use these features as well. So with that being said, open up the WindowBlinds configuration and select Transparency from the bottom tabs.

Here you are presented with three sliders when dealing with Aero modifications. One for adjusting the start menu, one for the taskbar, and the last for the window frames. Each also has its own reset button that when pressed, will reset the slider to its default skin setting. From this point on it’s pretty easy, just slide the slider control left and right to achieve the desired transparency. You will see your actions in the preview window, and when you are done just hit Apply changes to set the configuration.
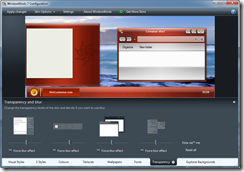
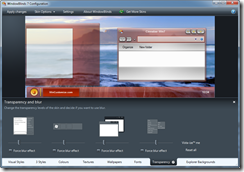
Once you have selected a WindowBlinds skin, you will get a few more options such as a slider for the right-click menu, and the option to have a forced blur effect on the skin. Although you have a few more options, it works the same way as mentioned above.
 |
 |
| Without Transparency Applied |
With Transparency Applied |
You can see the comparison in the above screenshots. Of course as with other customization aspects, you can apply as much or as little as you please. The choice is all yours and that is one of the fun parts about desktop customization.
For more information about WindowBlinds, visit www.windowblinds.net .