Fences 1.0 was released this week, and I wanted to put up a quick tutorial so new users can get setup quickly without much fuss. Grab the free download here, or via Stardock’s Impulse. Installation should take just a moment and then we can start getting our desktop in to some type of order.
Lets create our first Fence!
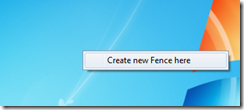
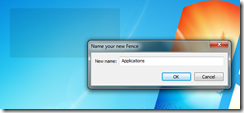
Right-click your mouse and drag an area across your screen with the size you want your Fence to be. It doesn’t have to be perfect, you can adjust it later. Release the mouse and you will be asked if you want to create a new Fences, say yes, and name your Fence.


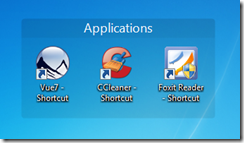
Now you have your first Fence. How easy was that?

Now you can proceed to drag and drop icons from your desktop into the Fence, and that is where they will be contained.

If you need to resize the Fence, just place your mouse on the edges and you can drag and resize to your liking. Right-click and select “configure Fences” for more advanced options.
If you want to completely clear you desktop of icons, just double-click to hide them, and double-click the desktop again to show them. You can also right-click an individual icon and exclude it from hiding.
So all you have to do now is create as many Fences as you like, and get your desktop clutter-free!