WindowBlinds 10 gives Windows users the ability to change the look and feel of the desktop by applying custom skins to the user interface. There are thousands of skins available to create a truly custom feel. WindowBlinds has an interface that is very easy to use, but I wanted to go over the basics of the app and how to get started with changing your desktop theme.
Get WindowBlinds here.
WindowBlinds Overview
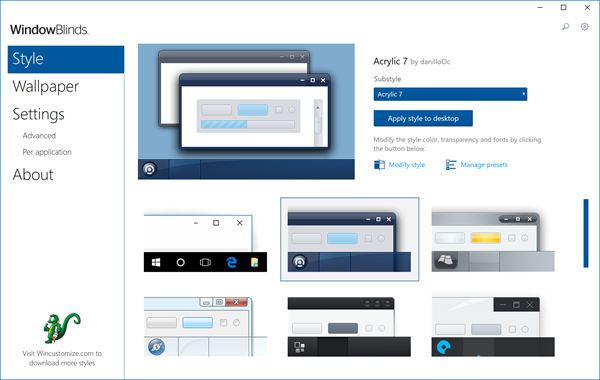
When you first open WindowBlinds, the main ‘Style’ configuration screen will pop up. Here you’ll see the main window which displays all of your installed WindowBlinds skins. On the left side you have links to other features in WindowBlinds such as wallpaper management and settings. Clicking the WinCustomize logo at the bottom will take you directly to the WindowBlinds skin gallery where you can browse and download thousands of skins to use.
Applying a desktop skin
WindowBlinds includes several skins that you can immediately start using. If you don't find anything you like in the defaults, you can download more at WinCustomize.com. To install a skin that you've downloaded, just double-click the .wba file and it will automatically install into WindowBlinds. Click any skin in the WindowBlinds window and you’ll get a preview of the skin with additional options shown at the top of the WindowBlinds window. These options include the ability to color the skin, adjust transparency, apply textures, and more.
Some skins will have a substyle that can be chosen by using the drop-down menu. Substyles are the same skin, but with different options such as different color options or substyles that are made for a particular version of Windows.
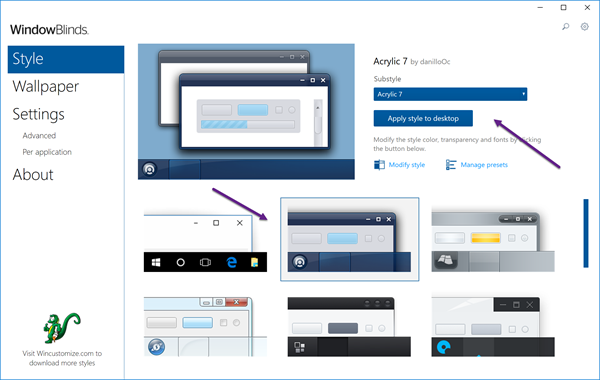
Once you have selected the skin you want to use, either double-click the WindowBlinds window or select ‘apply style to desktop’ to apply the skin. You desktop should now be skinned!
Examples of WindowBlinds skins:
Wallpapers
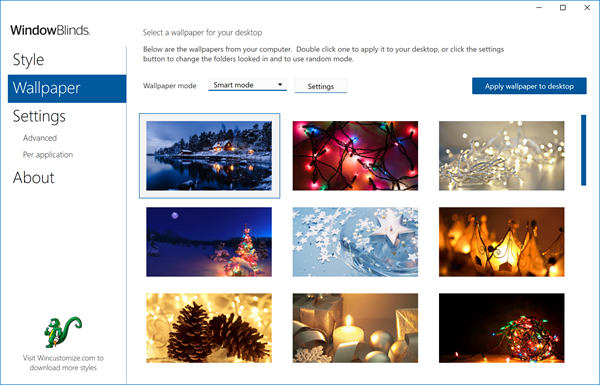
Another cool feature in WindowBlinds is being able to manage your desktop wallpaper right from the app. In the wallpaper section you’ll see all your specified wallpapers in one place. Click the setting button and choose wallpaper locations. Here you can tell WindowBlinds where to look for your wallpapers so they’ll be included.
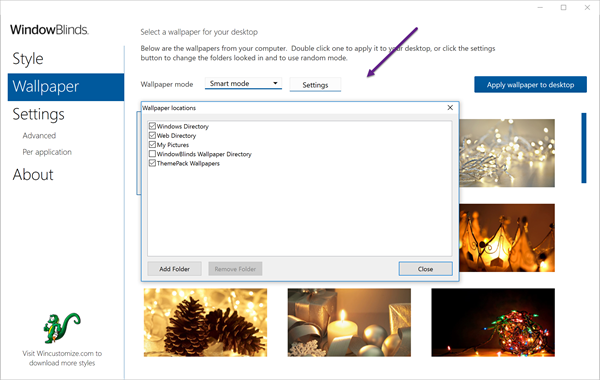
Once you have your folder locations setup, you can easily browse through your wallpaper collections and apply them by double-clicking or hitting the apply button.
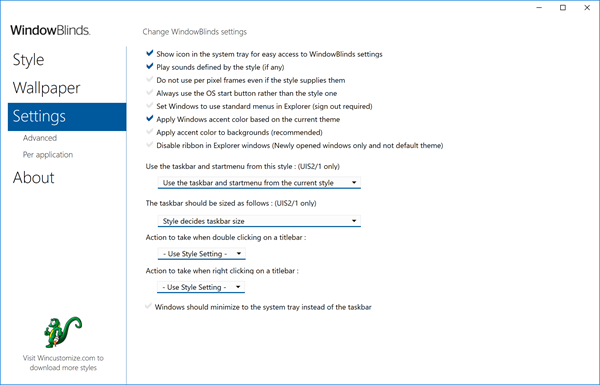
WindowBlinds Settings
Here you will find all the settings that you can adjust in WindowBlinds. I won’t go into much of what these do, but if you need to adjust any settings or set specific app-specific settings this is where you will be able to do that.
So that was just a basic overview of the WindowBlinds configuration and how to apply a skin and wallpaper to your desktop. This should help any new users get started, and be sure to check back for more articles as we will take a look more at some of the features in WindowBlinds.
Learn more about WindowBlinds here.