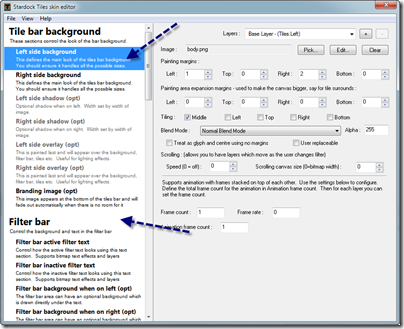
Stardock’s Tiles is one of our latest additions to the desktop productivity lineup, and as with many other apps, this one is completely skinnable. A skin editor utility is included with Tiles, and putting together a skin from your graphics is actually quite easy. You can launch the Tiles Skin Editor from the Windows start menu, or from the Tiles directory on your PC.
The editor window is pretty well laid out, and each section has a brief explanation of what that particular skin area does. I would also suggest opening one of the default skins in Tiles and take a look at how they are put together.

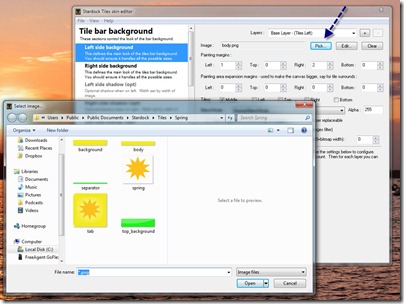
One of the first steps to take is creating the main background image for Tiles. Once you have your image (.PNG is needed) then select Pick and select your image for the background. The skin on Tiles will preview in real-time so you can immediately see what your skin looks like.
Tip: Make sure you place your images in the skin folder in your Tiles skin folder.

One you have gotten your first image in place, you are really free to continue to add and customize as much as you like. One cool feature is the ability to layer images for even more creativity. Moving on, you can select another background for the Filter bar, and of course you can customize the text options to match your skin. Additional skin areas are available for shadows and overlays for effects on the Tiles.
This was a basic outline on how to get your Tiles skin started, and obviously there are many more options you can explore in the Tiles skin editor. A more detailed skinning guide is available in the help menu in the skin editor.
Once your skin is ready, head over to WinCustomize and upload it to our Tiles skin gallery!