I thought it would be fun to use Fridays as a day to showcase features in our desktop apps. Since WindowBlinds is the king of desktop customization, I wanted to dedicate the next few Fridays to showing off some features in WindowBlinds that make it easy and fun to personalize your Windows desktop.
One of the newest features is Textures, so I wanted to show off how anyone can take image files of their favorite things and customize either Aero or WindowBlinds skin with them. For a complete video tutorial on how to create and use textures, click here .
If you don’t have WindowBlinds already, head over to www.windowblinds.net and grab it. Otherwise, grab some of your favorite image files and follow along, or grab the files I used here .
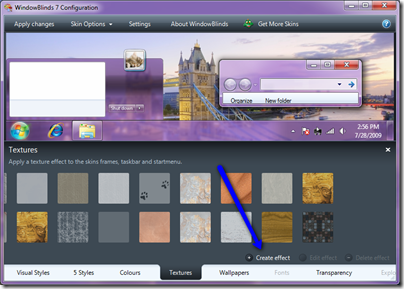
In the Textures tab, hit create effect and load up one of the images. From there you can adjust them and then they are saved to the Textures folder for WindowBlinds. They then should appear with the other included textures.

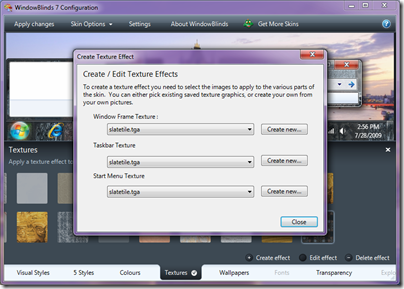
Once your texture is ready, it can be applied by simply choosing it. Clicking ‘edit effect’ will bring up a window where you can choose different (or the same) textures for the start menu, window frames, and taskbar.

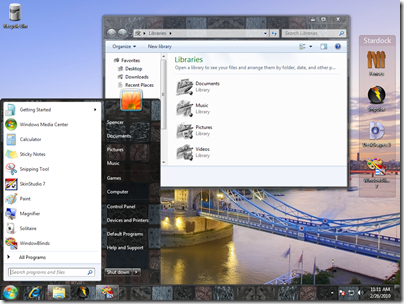
I like the slate tiles, so I used that throughout Aero and that gave a truly unique look and feel.

Load up some textures, and the post the screenshots so we can see how you are using textures!